I am so excited to share with you The Crafty Blog Stalker's Take on the Hershey Nugget 6 pack.
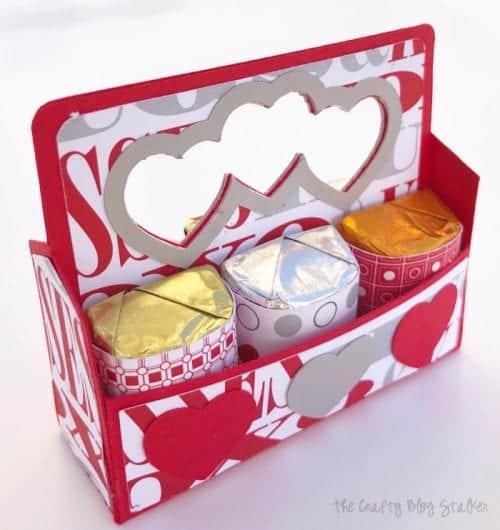
Katie put together this awesome assembly tutorial
How to Assemble the Chocolate Nugget 6 Pack
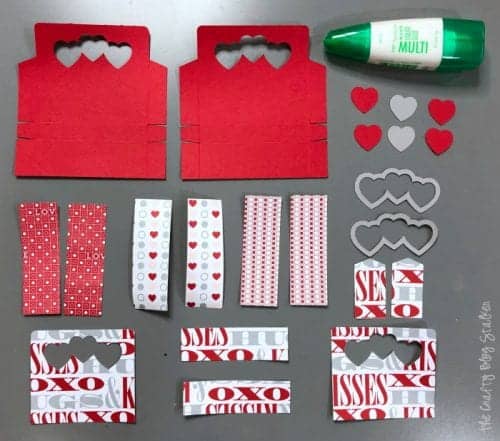
All of the pieces look small, but don’t worry, they are the right size. It’s a small 6 pack!
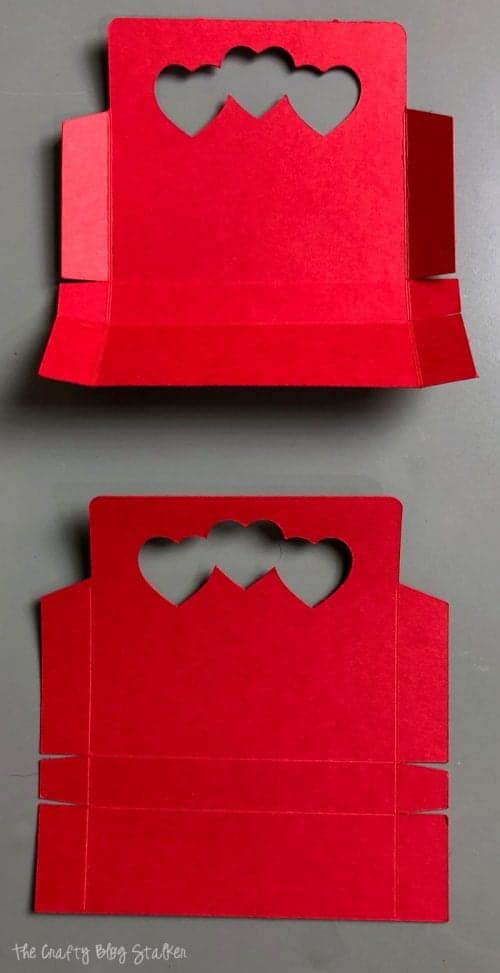
Begin with the base pieces of the box and fold at the score lines.
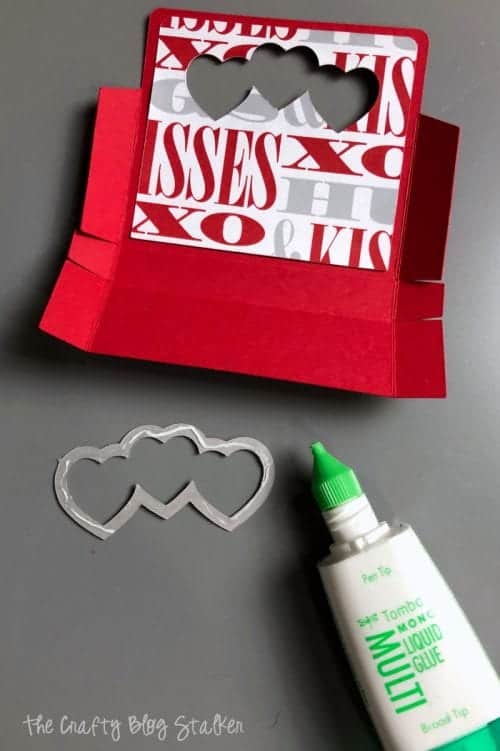
On the side with folds coming in, adhere the top pattern piece to the base. It lines up quite easily when you use the triple hearts as a guide to align the pieces.
Then glue the triple heart outline into place.
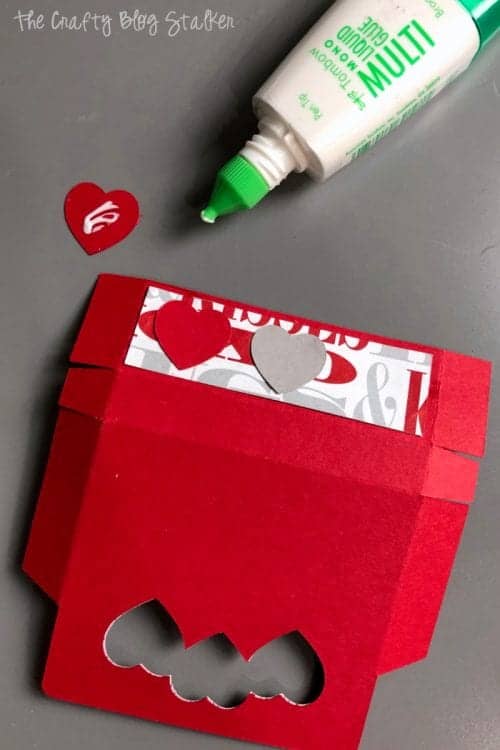
Turn the piece over and with the triple hearts upside-down, glue the rectangle cover and three hearts into place.
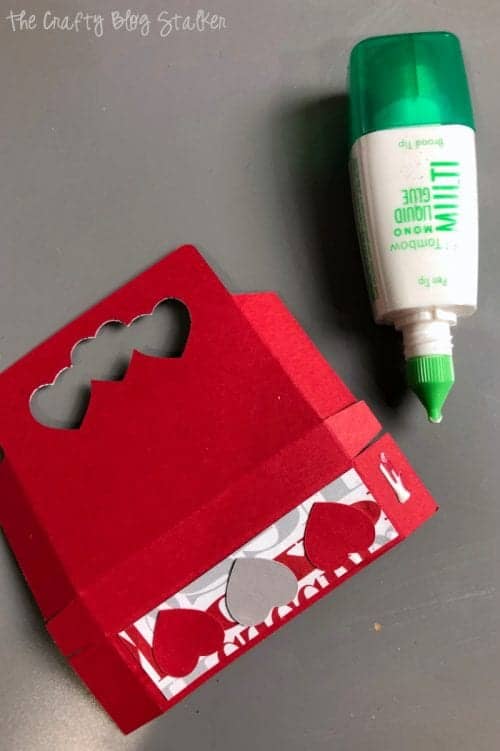
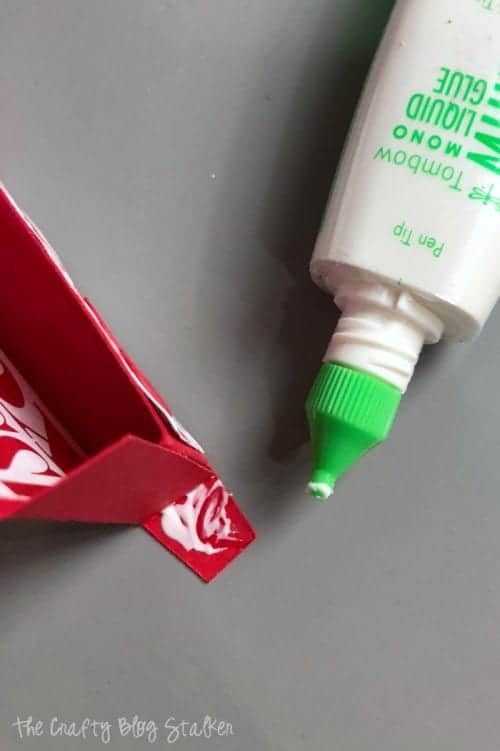
Now begin assembling the box. Apply a bit of glue to the shorter side flap.
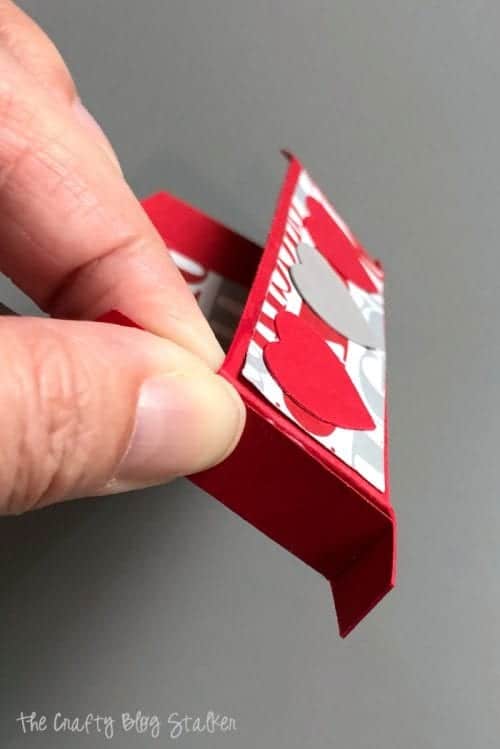
Fold into place to make a box and pinch in place till the glue is set.
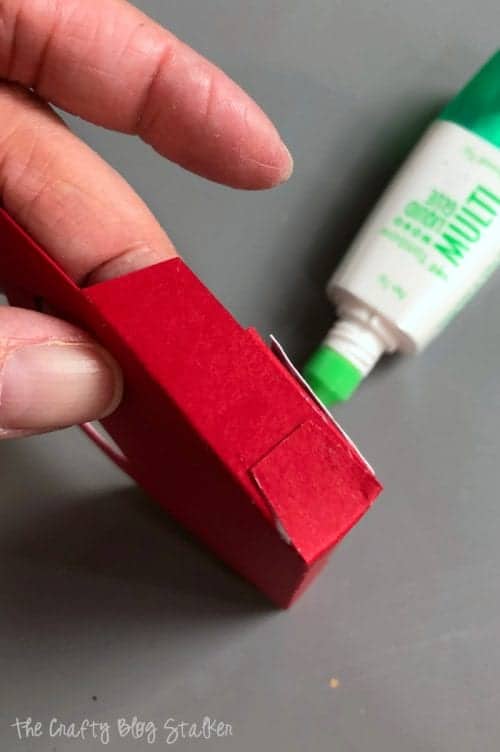
Add a bit of glue to the little flap and pinch it up into place.
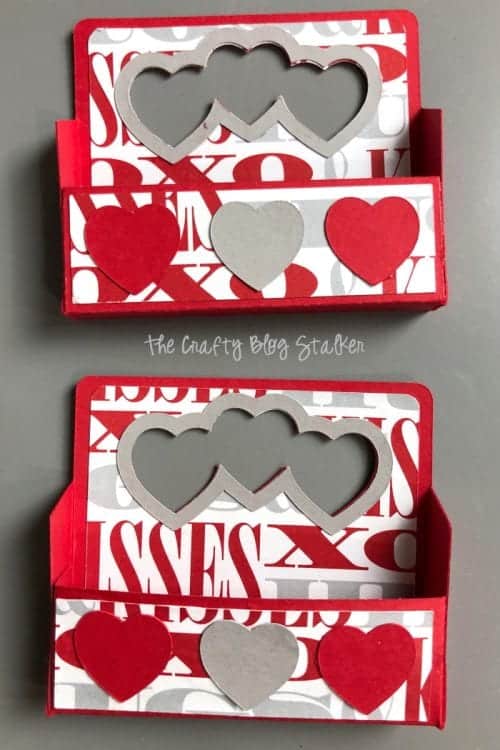
There are two sides to this box, so repeat the steps above to create the second half of the box.
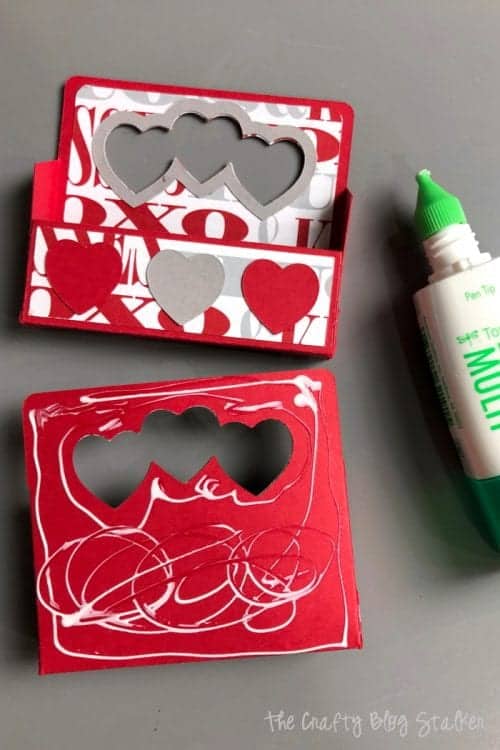
On the back of one of the boxes apply a squiggle of glue and align the back of the boxes together. Again, use the triple heart cut out to help align.
Apply glue to the end pieces of the pattern paper and apply to the ends of the box. This will cover the little flaps.
All thats left is to cover the Hershey Nuggets!
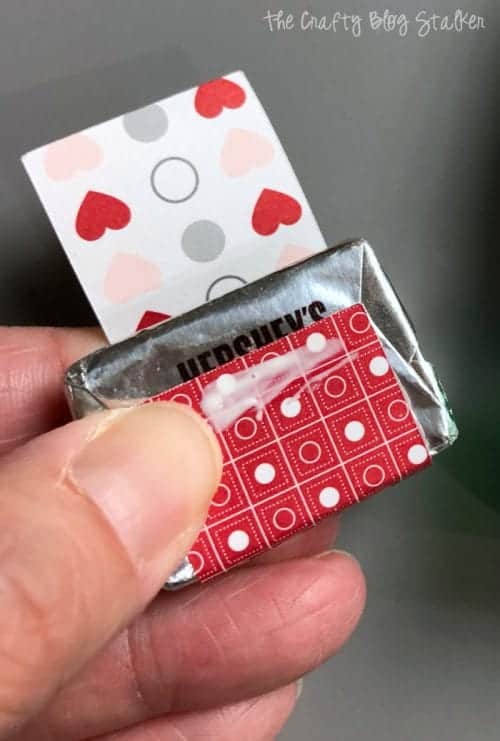
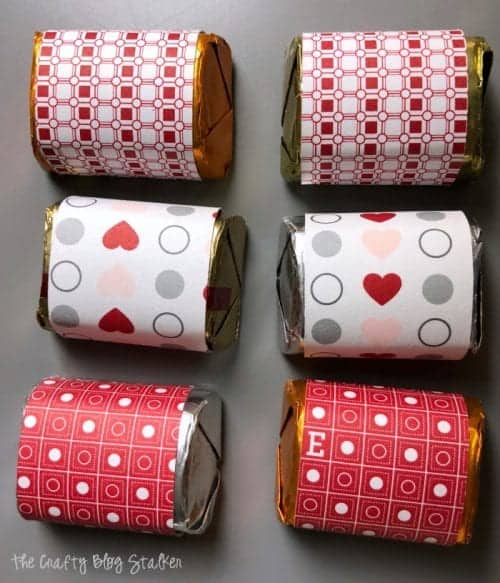
Wrap a pattern paper piece around a nugget and apply a thin line of glue along the bottom. Then wrap the other side over and press into the glue.
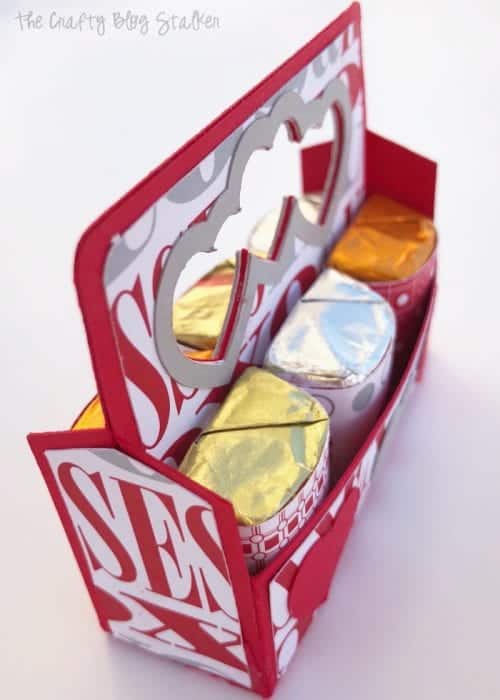
Place the little nuggets into the 6 pack tote and you are done!! Aren’t they cute?
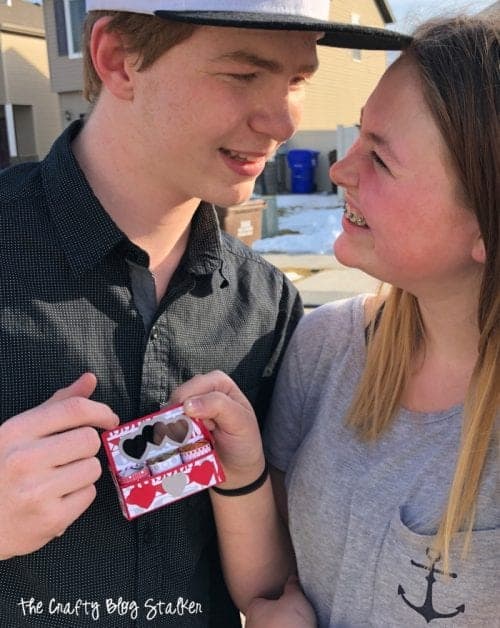
Perfect for classrooms, friends, coworkers, or…
… for that special someone!



No comments